Eco Print · the craft
Eco printing: nature's imprint on cloth.
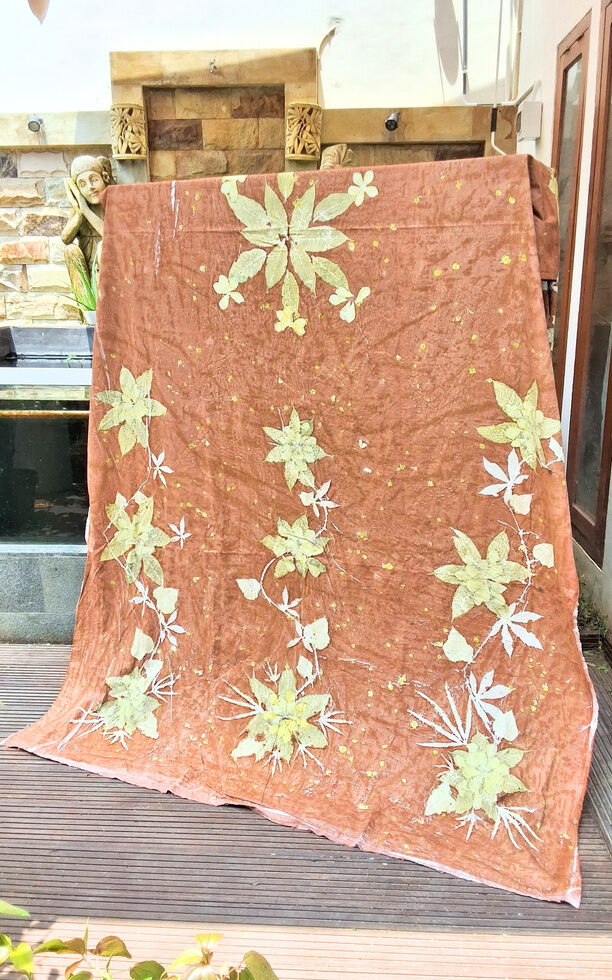
Eco printing, also known as botanical printing, transfers the colour and shape of natural materials like leaves and flowers directly onto cloth. The result is a one-off pattern made by nature, with a genuinely eco-friendly approach to textile design. Here is how it works, step by step.
- 01
Material collection
Gather leaves, flowers and other plant materials. Fresh materials usually give the best prints, though dried materials can be used for different effects.
- 02
Preparing the fabric
Choose a natural-fibre fabric such as cotton, silk or linen for the best result. Pre-treat it with a mordant where needed; mordants help fix the dye and improve colour fastness.
- 03
Arranging the plants
Lay the fabric on a flat surface and arrange the leaves and flowers across one half, composing the pattern as you go.
- 04
Creating the bundle
Fold the other half of the fabric over the plants, adding a second layer on top for prints on both sides. Roll the fabric tightly around a dowel or length of wood and secure it with string or ties.
- 05
Steaming
Place the bundle in a steamer to draw the plant pigment into the cloth. Depending on the materials and the depth of colour wanted, this can take from one to several hours.
- 06
Unwrapping and rinsing
Once cool, unwrap the fabric, remove the plant material and rinse in cold water to clear any loose matter and excess dye.
- 07
Drying and fixing
Hang to dry away from direct sunlight. Pressing the fabric while slightly damp helps set the colour, and a gentle wash or fixative can extend the life of the print.
- 08
The finished cloth
The eco-printed fabric is ready to admire, to sew, or to wear as art.
Every Adiwinoto piece begins here.